Want To Use BlackVue Cloud? Here Is What You Need.
So you’ve heard about BlackVue Cloud and its features and you’re wondering how to start? This article will help you understand what you’ll need to start enjoying BlackVue Cloud in your BlackVue dashcam!
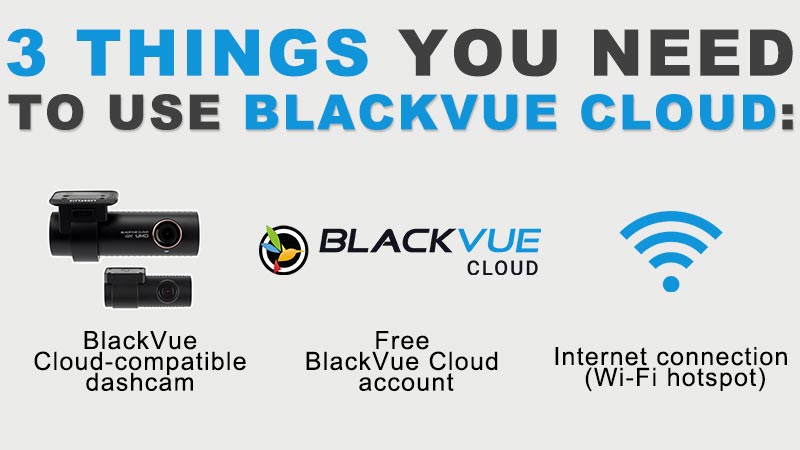
To use BlackVue Cloud, you will need a BlackVue Cloud-compatible dashcam, a free BlackVue Cloud account and an internet connection within Wi-Fi range of your dashcam*.

* BlackVue’s LTE dashcam (DR750-2CH LTE, available in Japan, Australia, and soon the rest of the world) does not require an external hotspot to be able to connect to the Cloud.
BlackVue Cloud can be used with all the BlackVue Cloud Dashcams. Although the latest models may support exclusive functionalities, all Cloud dashcams support the core features of BlackVue Cloud such as Remote Live View, Push Notifications and Cloud backup.
You can check if your BlackVue dashcam is compatible with BlackVue Cloud here.

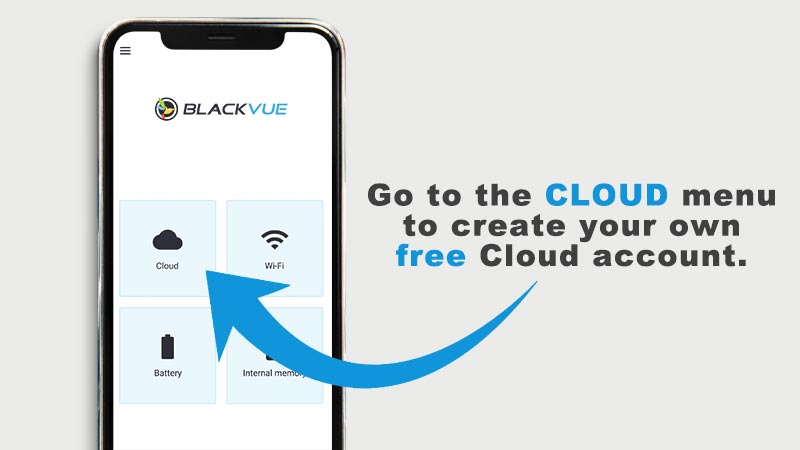
Next, you will need to create a free BlackVue Cloud account. Just download the BlackVue App for iOS and Android and go to the “Cloud” menu. You can create a free account in a few minutes.
Lastly, you will need an Internet-enabled Wi-Fi connection within range of your dashcam. We recommend using a 4G LTE Wi-Fi hotspot. Most mobile carriers offer such products. Data-wise you could start with as little as 5GB per month or even less, if you only plan to use Remote Live View and Push Notifications.
For reference, 24 hours of Remote Live View streaming will use about 6.5 GB of data, which is 270MB per hour or about 4.5MB per minute, no matter what dashcam model you use. Data usage may go up if you plan to back up original video files from your dashcam’s microSD card to be Cloud. You can check data consumption in more details here (scroll down).
This is just the first article in the series we plan to post regularly. In this series, you will learn how to register your dashcam to the Cloud, what are some of the basic features of BlackVue Cloud, setting up Push Notifications and more. Stay tuned!

